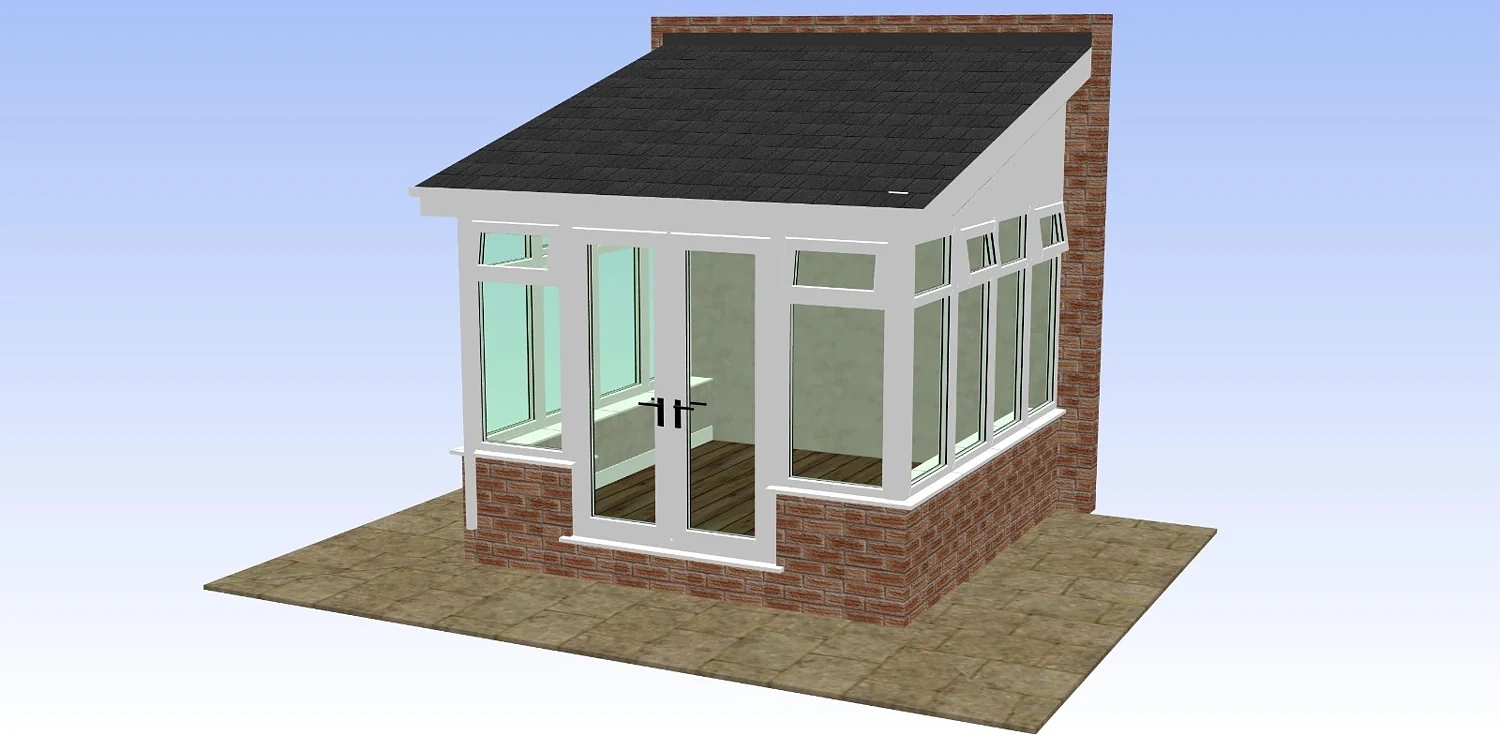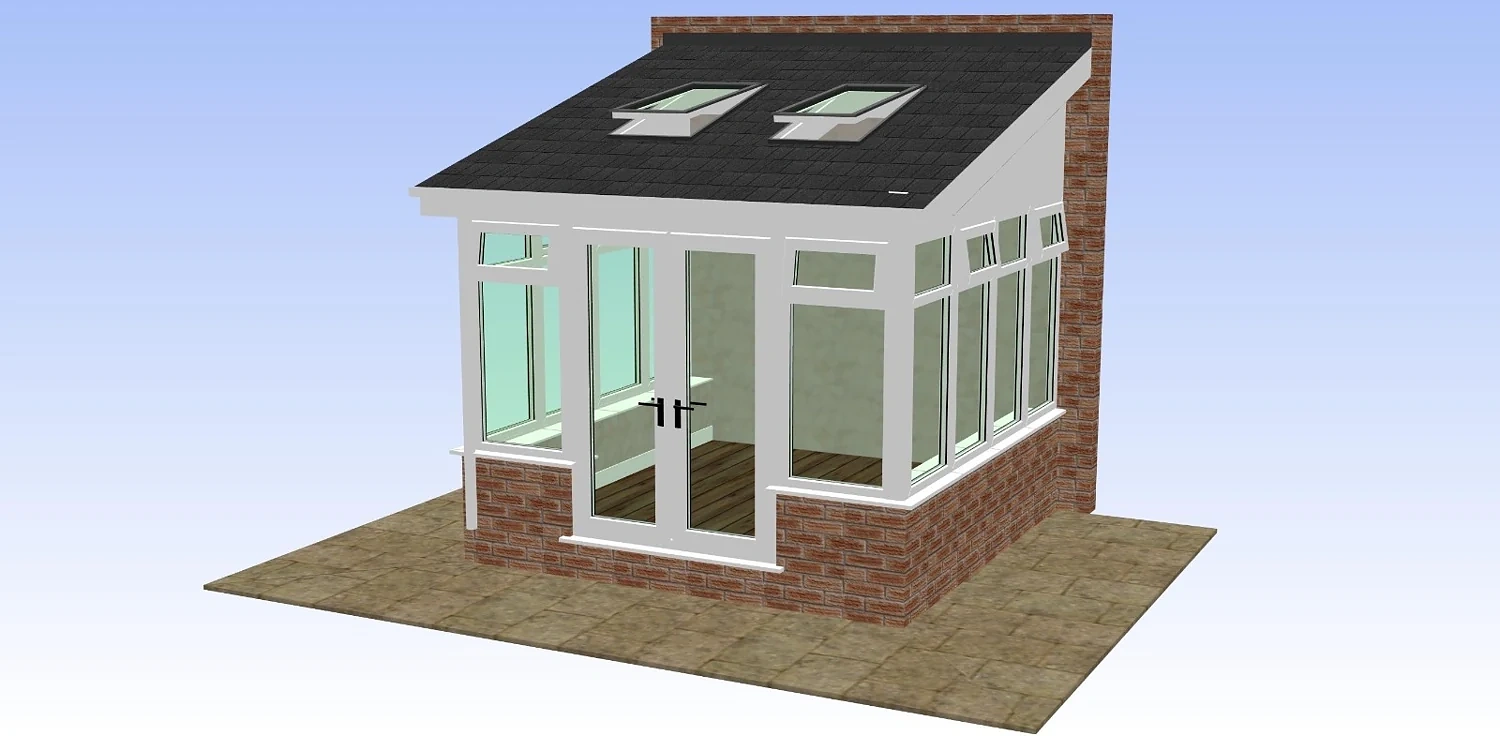
Standard conservatory
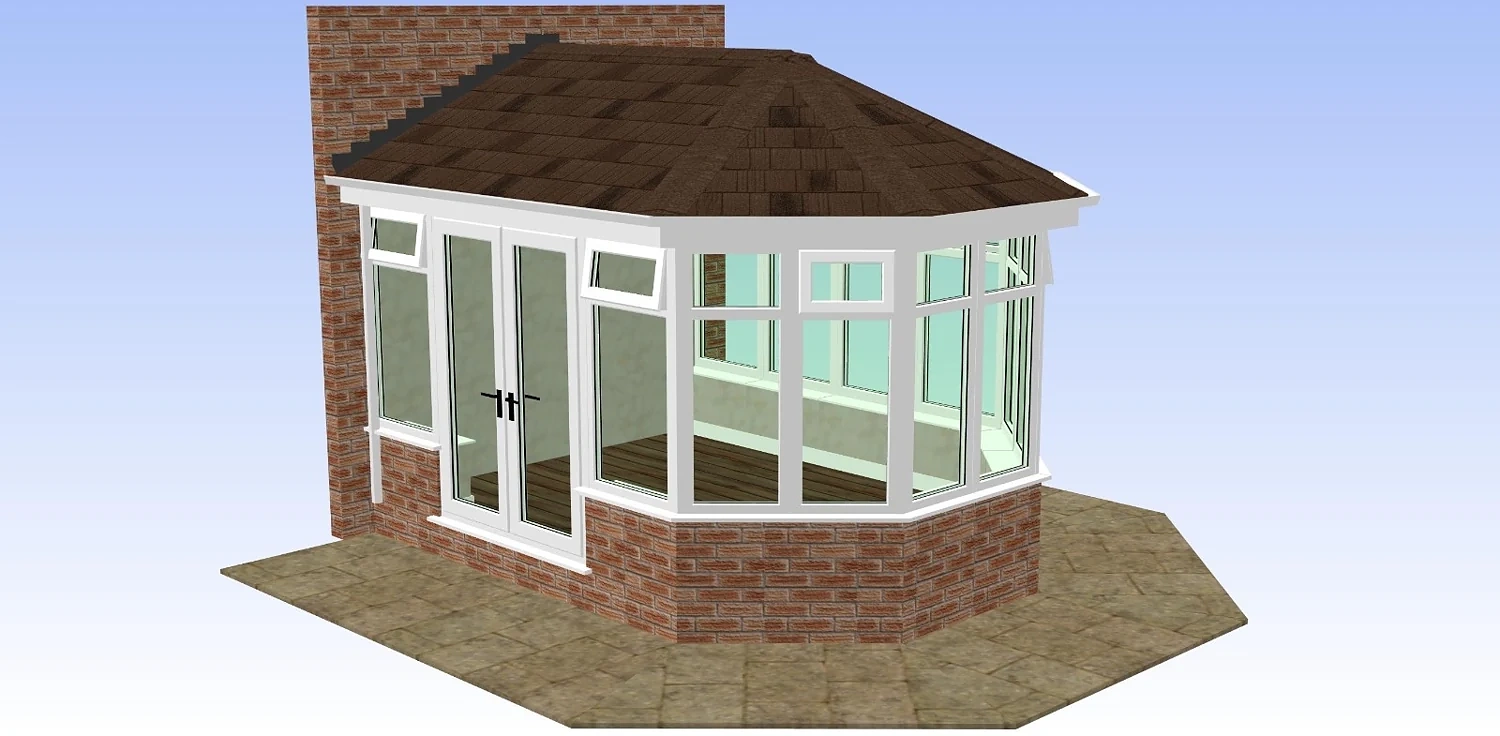
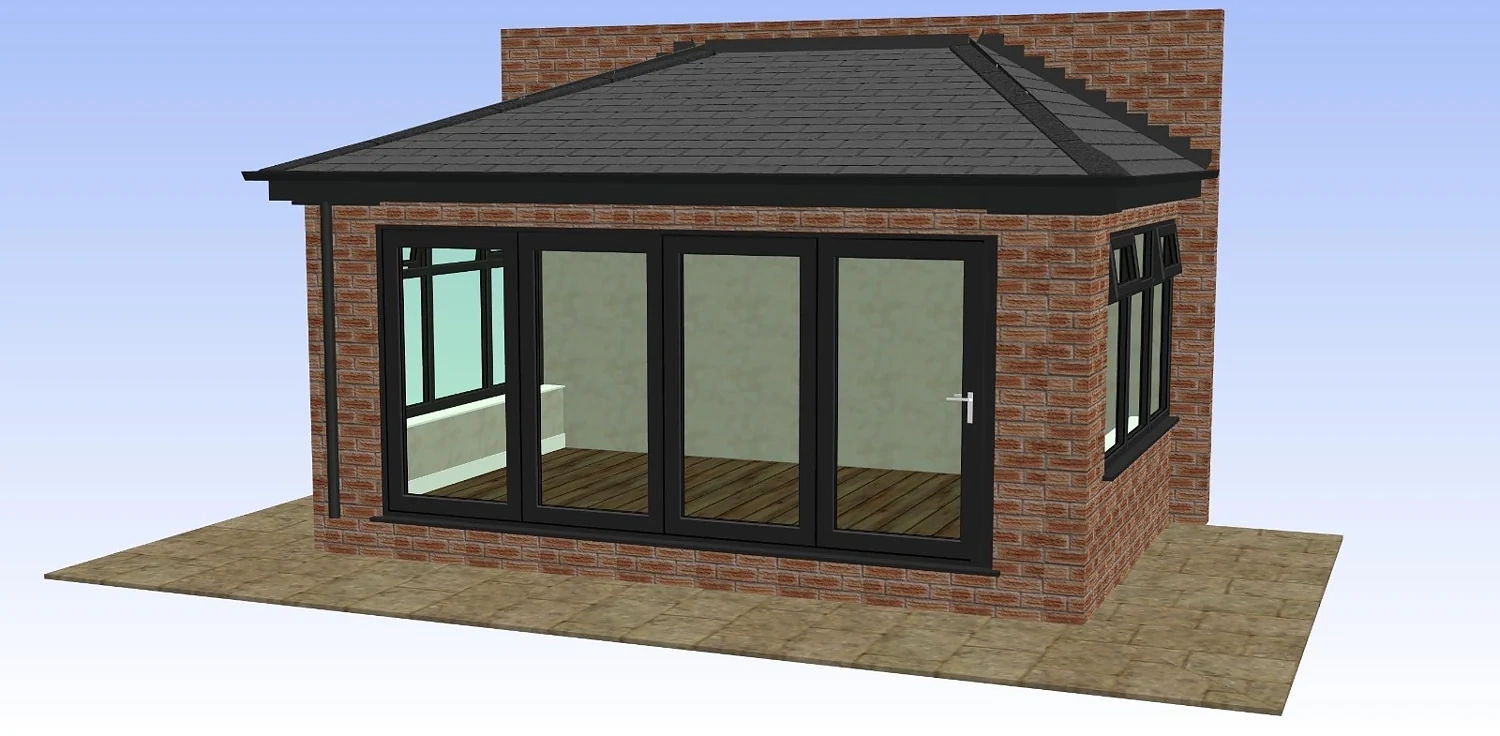
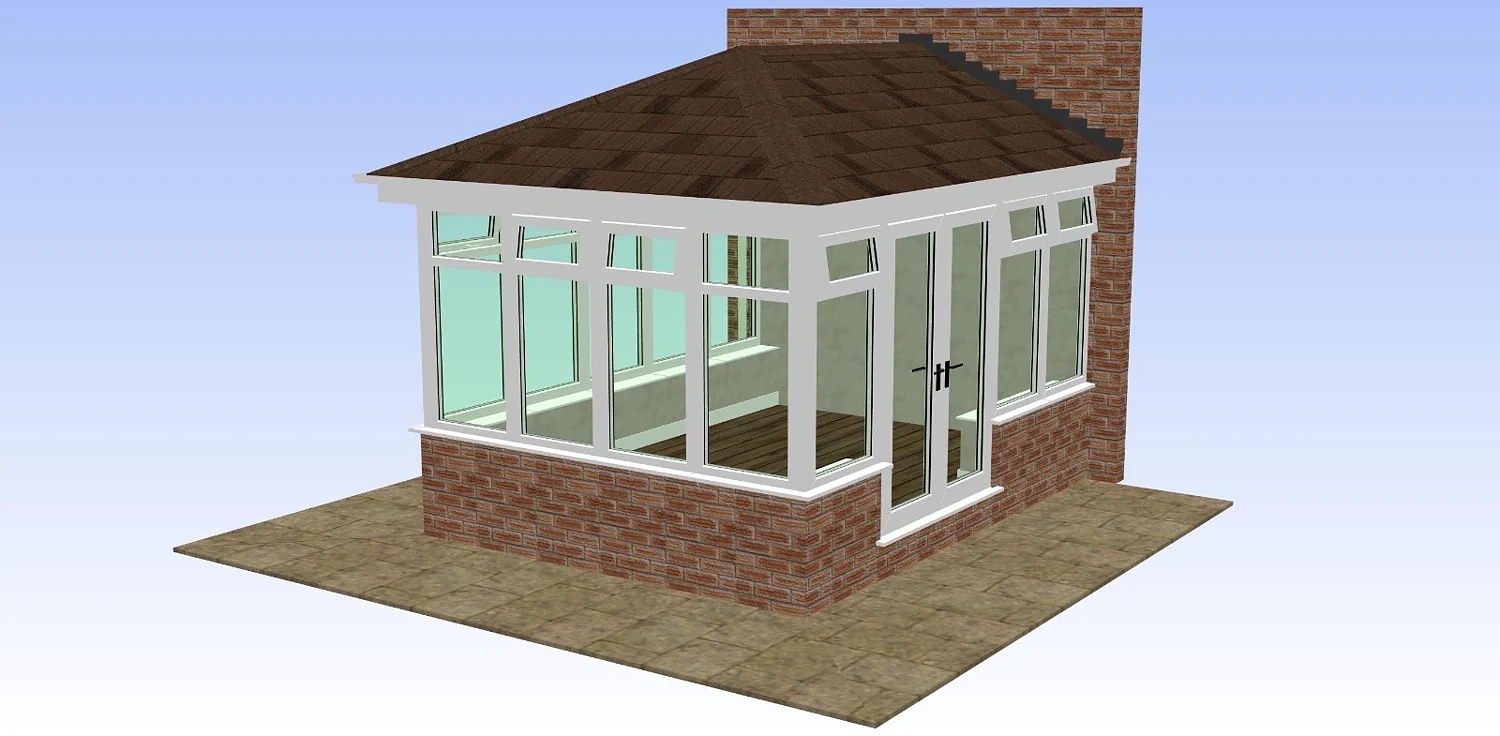
Edwardian Conservatory
Square-edged, extension-like conservatory that gives you maximum internal floor space and a very solid look.
- White frames
- Hipped tiled roof – warm brown tone
- Brick dwarf wall
- Suits most semi-detached and detached homes